In my last post, I wrote about setting up Meraki to manage our Android tablets. In this post I thought I would go through the physical hardware side from unboxing the tablets to having them setup and ready to play with.
As soon as the tablets are turned on, there is the first choice of choosing a language and then selecting your WiFi.
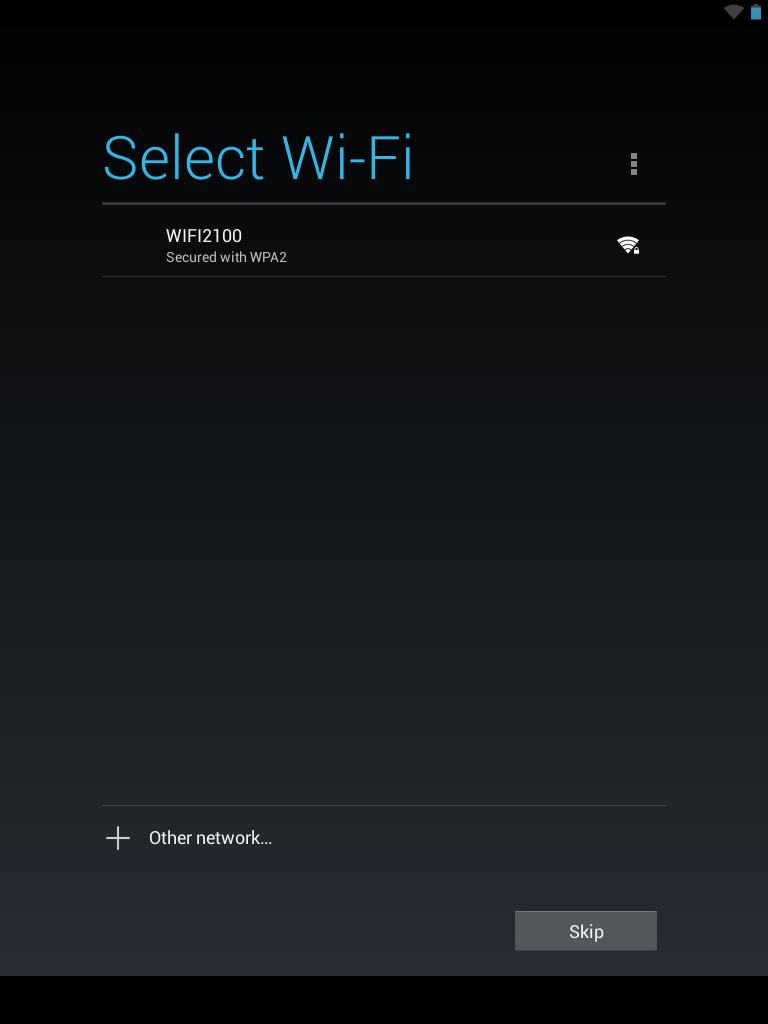

From here, clicking on “Advanced Settings” will provide the option to setup the proxy settings for your WiFi, if you need to. The tablet will then spend a few seconds connecting.
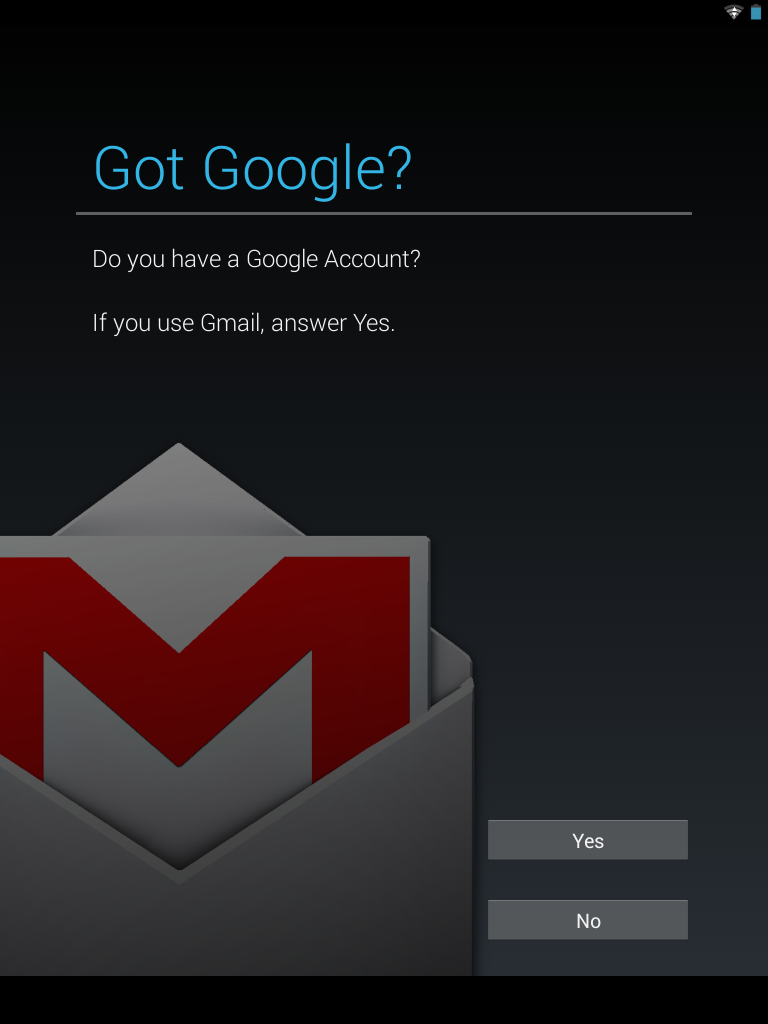
You will then be asked if you have a Google account. I’m not sure of the best way of organising this, but we have created one account e.g. android@ridersapps.co.uk (Our Google domain) and then every tablet device is “owned” by this account. We have six tablets per class and have no plans for moving towards 1:1 so the devices do not belong to the children and will probably not need to sign in to their own Google accounts either so having 1 account for all devices seems to be the best option.

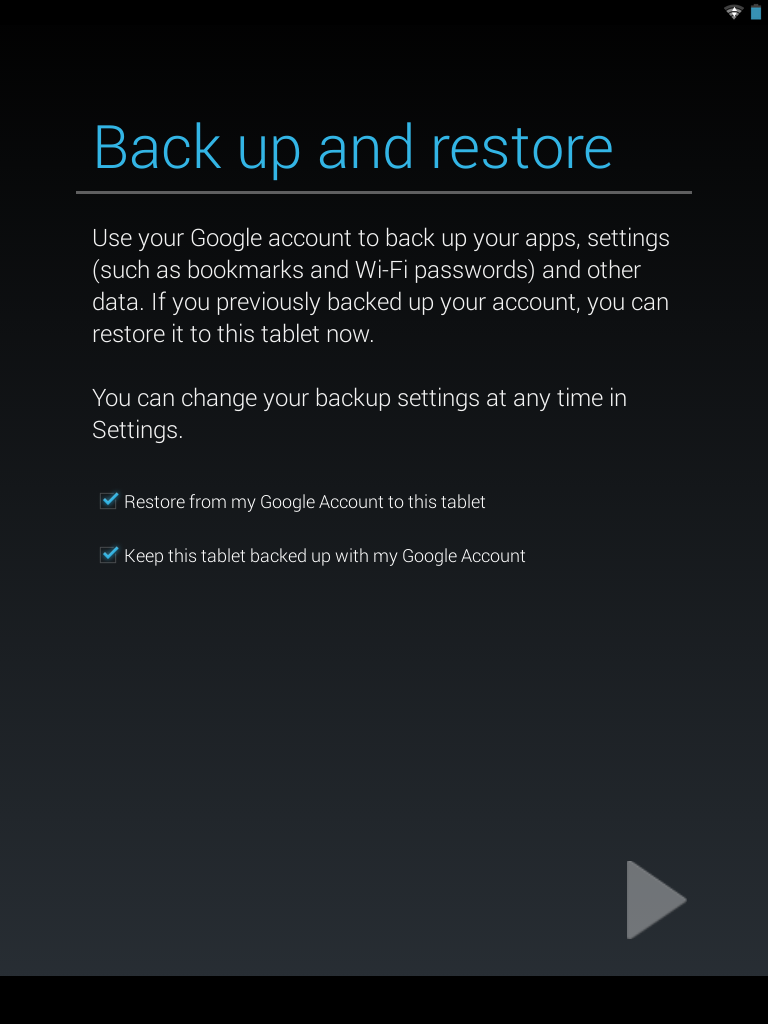

There are then various different terms and conditions and options before your device will be setup. In total, I would say 2-3 minutes per device. Of course having a few lined up to setup at once will always speed things up 🙂
Now, the next part involves customizing the tablet for your school. First things first, we downloaded the Meraki Systems Manager app. This was mentioned in my previous post.

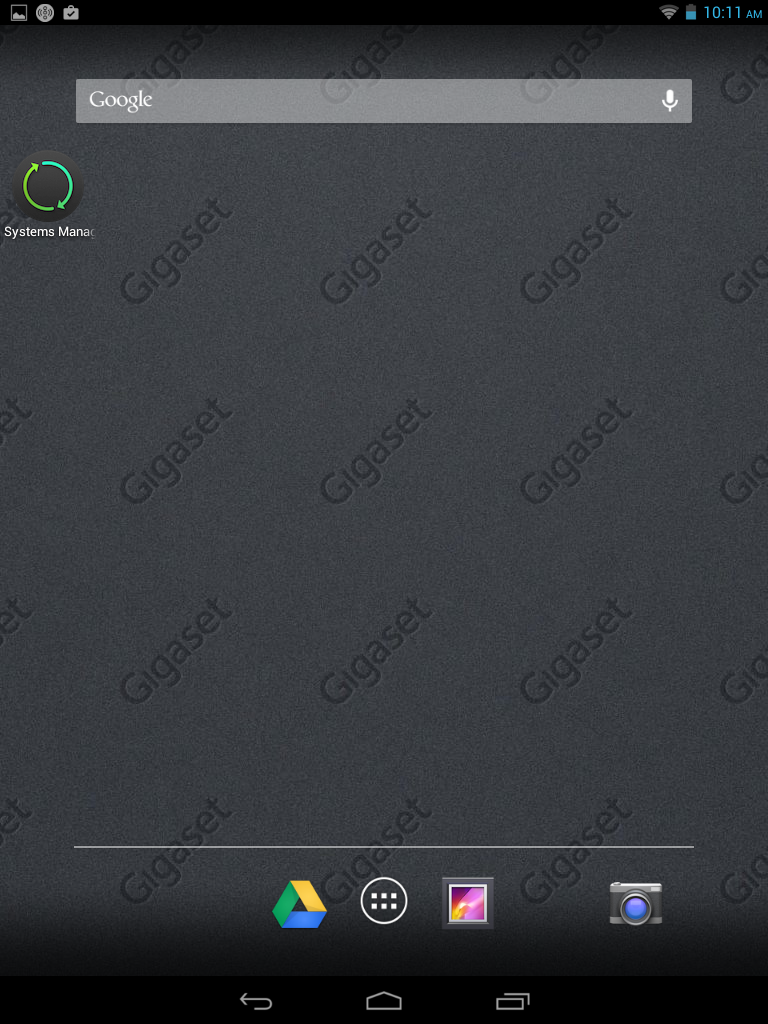
Luckily, by searching for “systems”, you find Meraki first on the list. Install the app and it should appear on the home page, if not, look on the apps menu and it will be there instead. I found that 95% of the time it made a shortcut on the home screen.

Once you open Systems Manager, you will be asked to enroll the tablet onto your Meraki domain. Enrolling will ensure that the profile you set up on the dashboard gets installed on the device. This will include the WiFi information and other settings you have decided on. Although enrolling is where we found a major problem. It appears that you can’t enroll the device if you are connecting through a proxy server. So there are a few options:
1) Take all of the devices home and use your home WiFi to enrol them all. Cons: Carrying them all home. Do you really want to do this at home??? Pros: Setting them up whilst watching TV.
2) Get your phone out, turn on the option to act as a WiFi hotspot and connect them through your phone. Pros: You can do it in school (providing you have decent phone signal of course) Cons: If you have a lot of devices, you might find you have to do them in small batches. I could only do 3 at a time, more than that and the WiFi speed slowed down. Also, it only uses a teensy bit of data, but I did find that I went over my monthly allowance of 750mb after setting up 100 tablets.
To be perfectly honest, neither option is ideal and I hope that Meraki can fix it to make life a lot easier, but hey, it is what it is at the moment.
Another thing to be aware of is that when the tablet connects to a different WiFi e.g. your home one or your phone hotspot, you will be asked to sign-in to your Google account again. I think that this is a safety measure, but it’s something to be aware of. I took the first 30 tablets home, set them up and gave them to teachers and they were being asked to re-sign before downloading apps. Oops.
Once enrolled, the device gets added to the Devices page on the dashboard and it can then be renamed as required. We have renamed all of ours according to the class they are going to and then stuck a label on the back of the tablet. This helps people know which device they have used and helps me know where things are!
So, once you’ve gone through the enrolment process, now what?

Connect to your school WiFi, load Systems Manager and scroll right to find the Managed Apps page. This will be a list of the apps that you have setup via the Meraki Dashboard. From here, you can click on an app and you will be taken to the Google Play page for the app. Click install and it will then download. You can queue up lots of apps but you still need to go back to Systems Manager, click on them, click install and so on.

Once setup and enrolled, if you add an app via Meraki, it will send a notification to each tablet and by clicking on this, you will get taken to directly to the app page so that it can be installed. This is nice, but you would then be relying on teachers/children to find the notification and install each app.
I would like to see some improvements in this process. It would be great to install remotely so that instead of there being a notification, the app actually installed instead. All in al though, for a free product, Meraki is great. I’d be keen to hear on how you have set up Android tablets so please let me know in the comments box.